
Printable setup guide
How to Print, Laminate, and Prep SensoryGift Visual Schedule Printables
A simple step-by-step guide for turning printable visual schedules, routine charts, First-Then boards, and activity tiles into reusable tools that hold up better during daily use.
Printing the pages is the first step. Laminating, cutting, adding Velcro dots, and storing the pieces well can make the printables easier to reuse at home, school, therapy, or in a classroom setting.
Supplies that make visual schedule printables easier to use
You do not need a fancy setup. The main goal is to make the pages sturdy enough for repeated handling, especially if a child will be moving tiles on and off a board throughout the day.
Helpful supply list
- Printer or local print shop access
- White cardstock, usually 65 lb to 110 lb
- Thermal laminator
- 3 mil or 5 mil laminating pouches
- Scissors or paper cutter
- Self-adhesive Velcro dots
- Storage pouch, pencil box, binder pouch, or small photo organizer
SensoryGift may earn from qualifying purchases when you use affiliate links. This does not change your price.
Best print settings
Before laminating, print one test page first. This helps you make sure the page is not shrinking, stretching, or cutting off important parts of the printable.
| Setting | Best choice |
|---|---|
| Paper size | US Letter, 8.5 x 11 inches |
| Scale | Actual size or 100 percent when possible |
| Fit to page | Use only if the edges are being cut off |
| Print quality | Normal or high quality |
| Paper | White cardstock for reusable boards and tiles |
Step-by-step setup instructions
This is the easiest order for prepping most SensoryGift visual schedule printables.
- Print the pages on cardstock. Use white cardstock if you want the schedule board and tiles to feel sturdier. Print one test page before printing the full set.
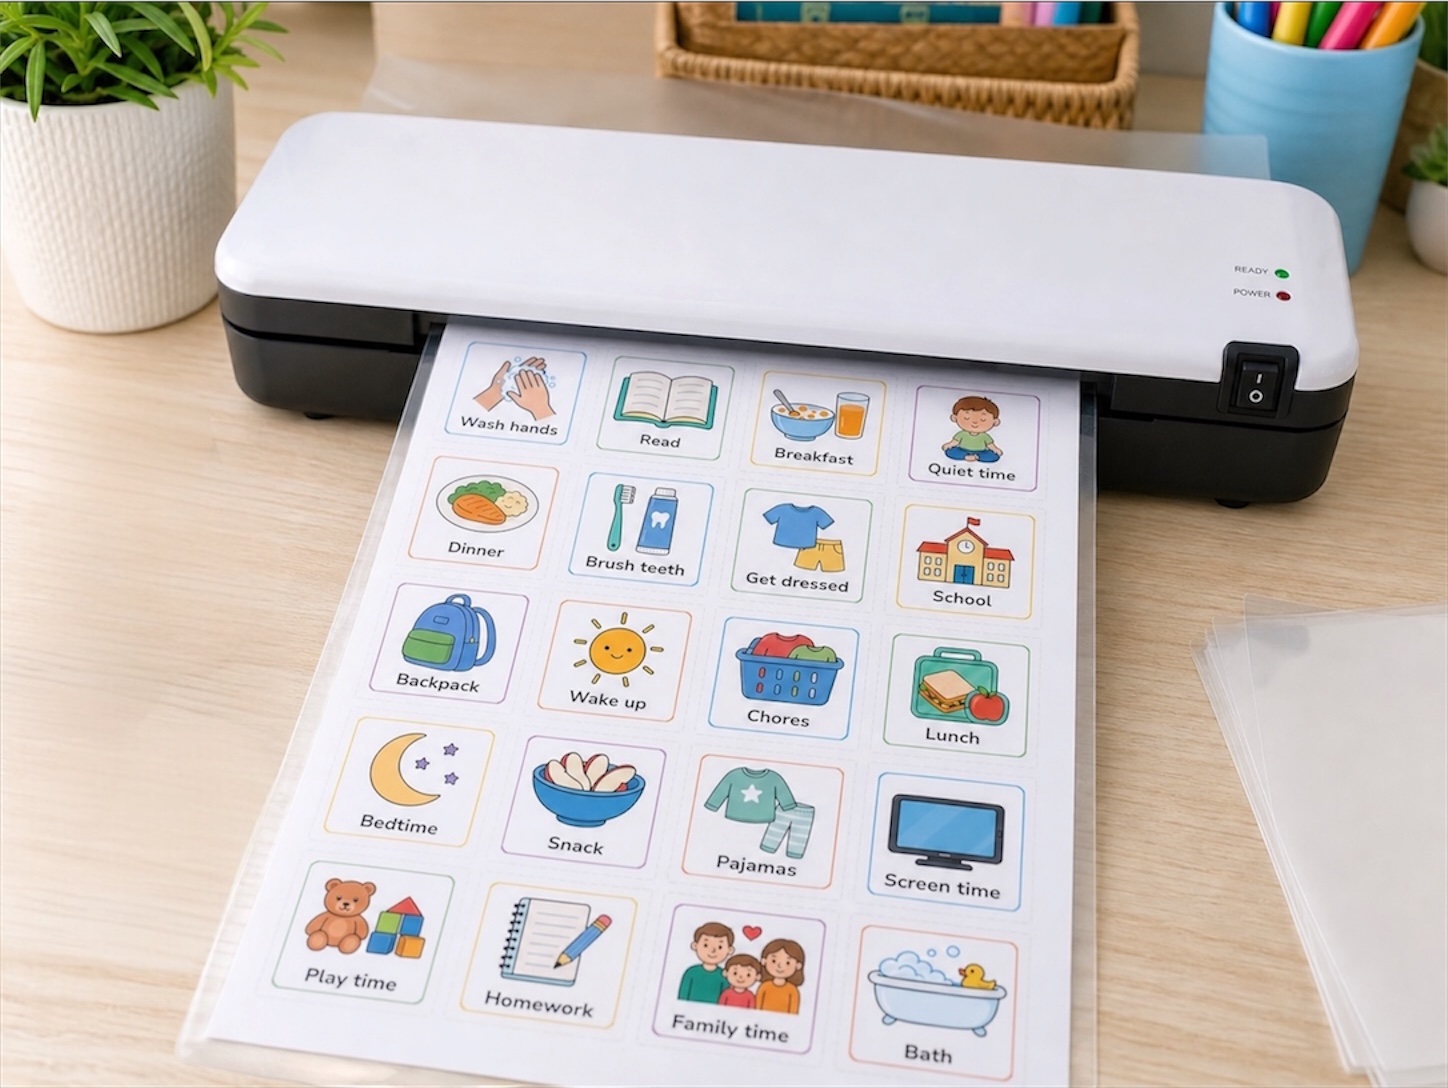
- Laminate the full pages before cutting. For most tile sheets, laminate the whole sheet first. This helps seal the front and back before the tiles are cut apart.
- Let the laminated page cool flat. After the page comes out of the laminator, place it on a flat surface for a minute so it cools without curling.
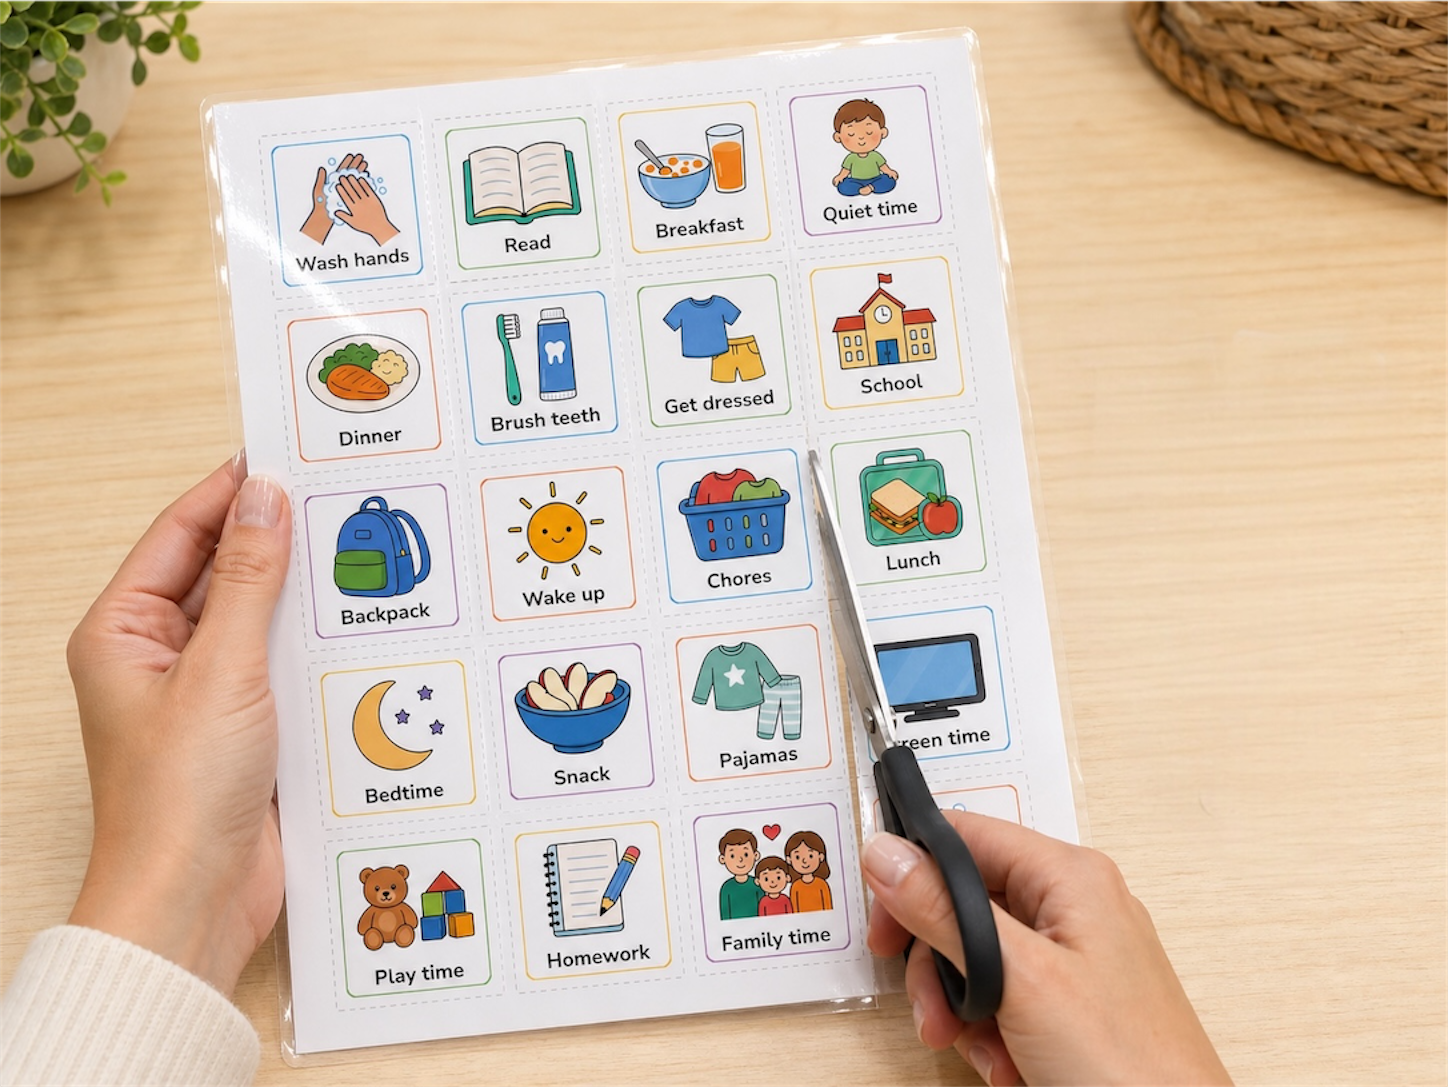
- Cut out the tiles. Use scissors for small batches or a paper cutter for straighter lines. Leave a tiny laminated edge when possible so the pieces stay sealed.
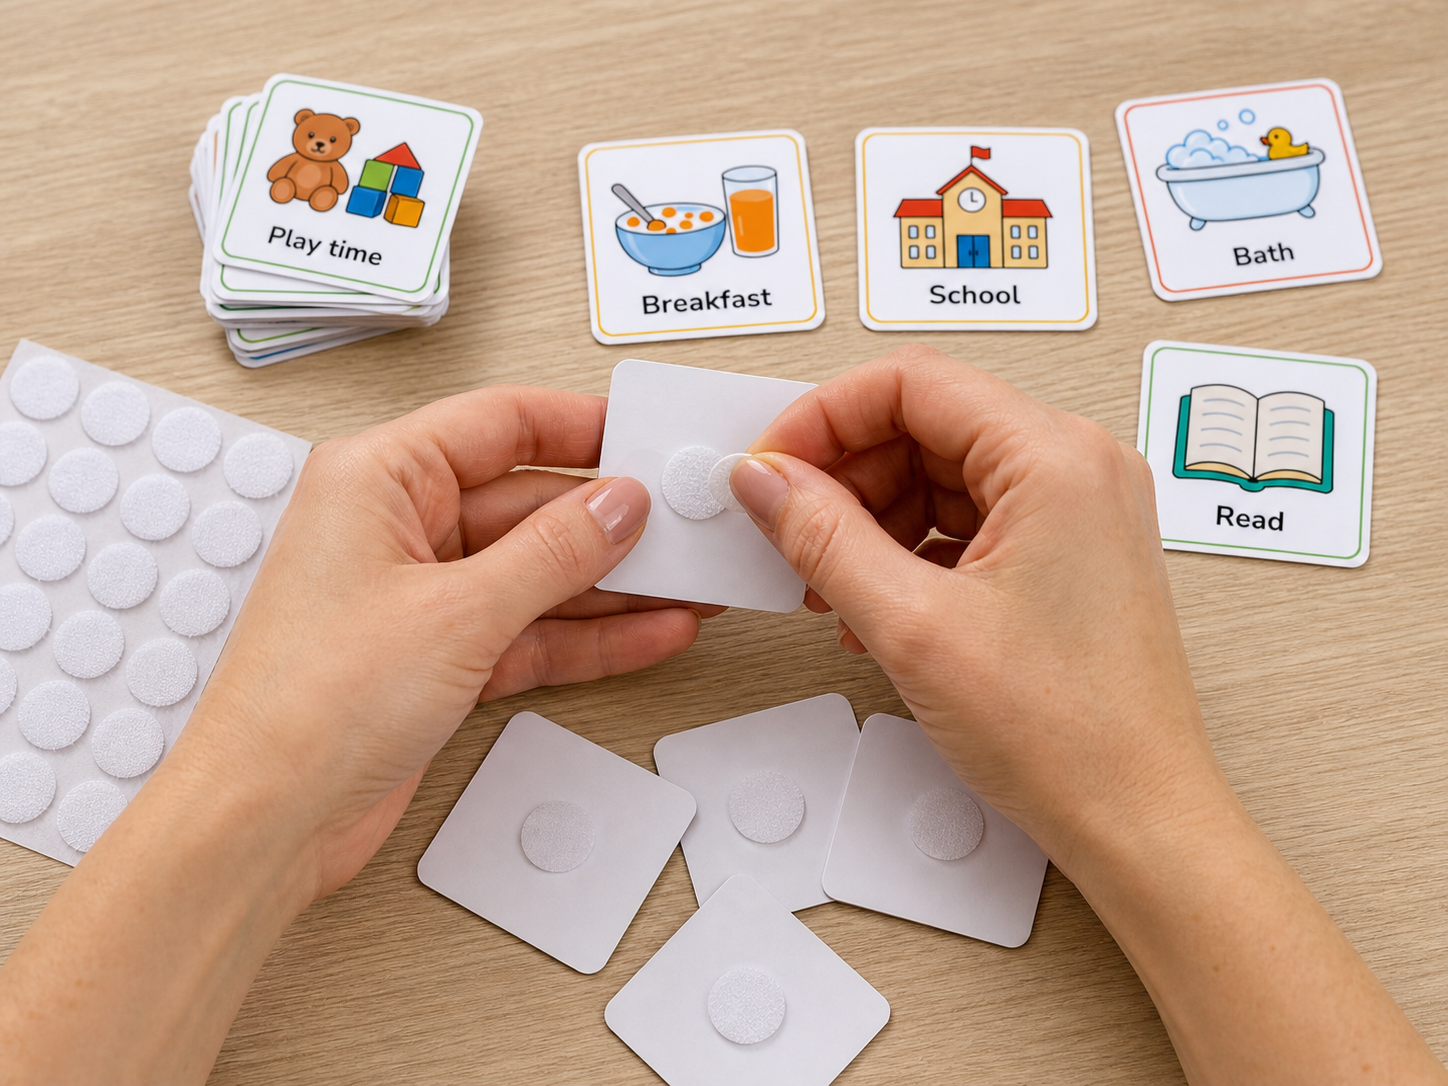
- Add Velcro dots to the backs of the tiles. Use the same side of the Velcro on every tile and the opposite side on the board. This makes the whole set interchangeable.
- Store extra tiles in a pouch or box. Keep unused tiles together so the visual schedule stays easy to update instead of turning into loose pieces around the house.
Cutting tips for cleaner tiles
Cutting is easier when the laminated sheet is completely cool. If the page still feels warm, wait another minute before trimming.
For scissors
Cut slowly around each tile and keep a small laminated border if the design allows it. This helps reduce peeling at the edges.
For a paper cutter
Use the guide lines to trim rows first, then cut individual tiles. A paper cutter can make a large set faster and more even.
Velcro dot sizing and placement
For most visual schedule tiles, small self-adhesive Velcro dots work best. If your tiles are around 1.5 to 1.8 inches, 3/8 inch or 1/2 inch dots are usually a good fit.
Keep the sides consistent
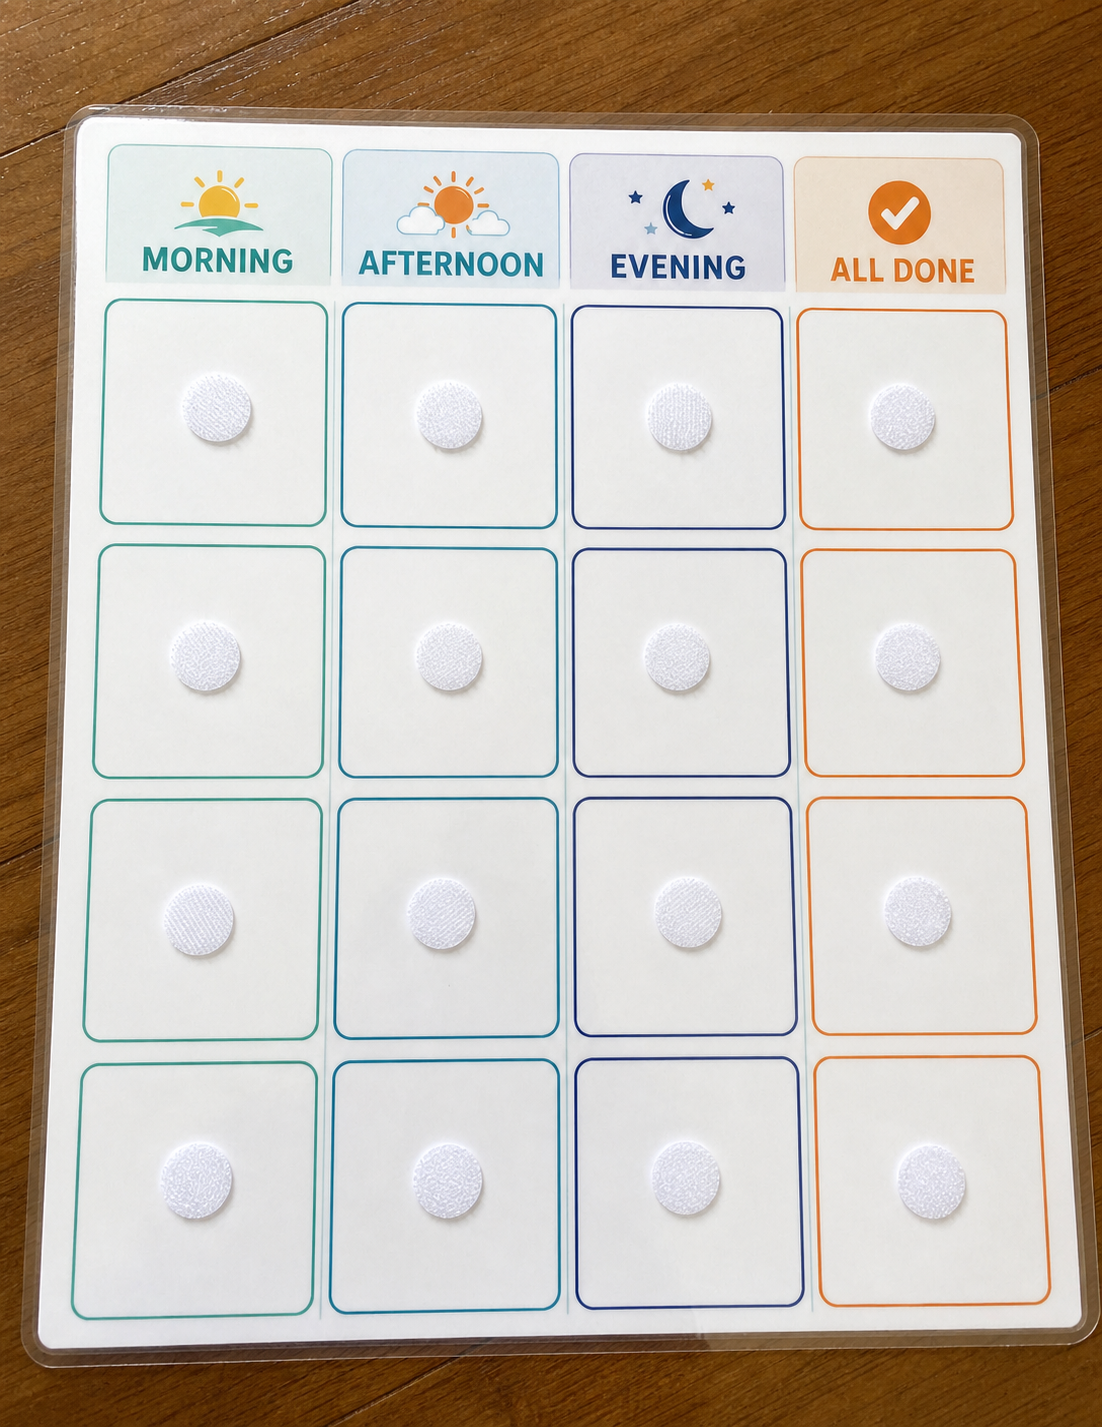
Choose one side of the Velcro for every tile and the opposite side for every board space. For example, put the rough side on the board and the soft side on the tiles, or do the reverse. The exact choice matters less than being consistent.
Where to place the dots
- Place one dot near the center back of each small tile.
- Use two dots only for larger pieces that need extra hold.
- Press each dot firmly for a few seconds after placing it.
- Give adhesive dots time to bond before heavy use when possible.
Storage tips so tiles do not get lost
Visual schedule sets work best when the extra pieces are easy to find. A simple storage system can prevent the tiles from becoming another clutter problem.
- Use a zipper pouch for one small routine set.
- Use a pencil box for daily home use.
- Use a photo organizer box for larger tile collections.
- Use small labeled bags for categories like morning, school, bedtime, sensory supports, and outings.
- Keep blank write-in tiles together with a dry erase marker if the set is laminated.
Troubleshooting common problems
The page curled after laminating
Let the page cool flat right after it comes out of the laminator. If it is still curled, place it under a heavy book once it is fully cool.
The laminate is peeling
Make sure the pouch sealed completely before cutting. Leaving a small laminated border around each tile can help.
The tiles are too small
Check that the printer did not shrink the page. Try printing at 100 percent or actual size.
The Velcro dots fall off
Press firmly when applying them and avoid touching the sticky side. Some families prefer stronger adhesive dots for heavy use.
The board feels too busy
Start with fewer tiles. A First-Then board or a short morning routine may be easier than a full-day schedule at first.
The child keeps removing all the tiles
Try using only two to four tiles at a time, or keep extra tiles out of reach until the routine is more familiar.
Would a pre-made laminated kit help?
Some families love printables but do not have the time, energy, printer, laminator, or supplies to prep everything. SensoryGift may offer a small pre-made laminated kit in the future if enough families want one.
A possible kit could include printed and laminated schedule boards, cut tiles, Velcro dots already attached, and simple storage.
Would you buy a ready-to-use laminated visual schedule kit?