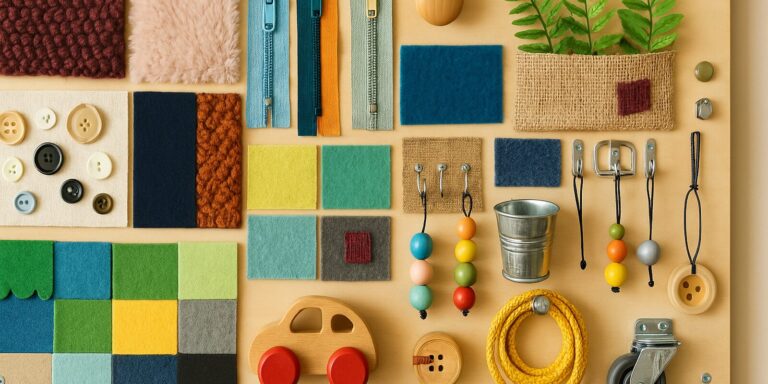
A DIY sensory wall lets you craft a customized, interactive board packed with textures, colors, and moving parts—perfect for encouraging exploration and supporting self-regulation. Building one can be a fun family project and a cost‑effective way to tailor sensory experiences to your child’s interests and needs.
Planning Your Sensory Wall
- Space & Safety: Choose a flat surface at your child’s eye level. Make sure the board will be securely anchored to prevent tipping.
- Purpose: Think about your goals—fine motor skills, calming textures, cause‑and‑effect play, or all of the above.
- Theme & Colors: Pick colors, characters, or themes your child loves (animals, outer space, vehicles) to keep them engaged.
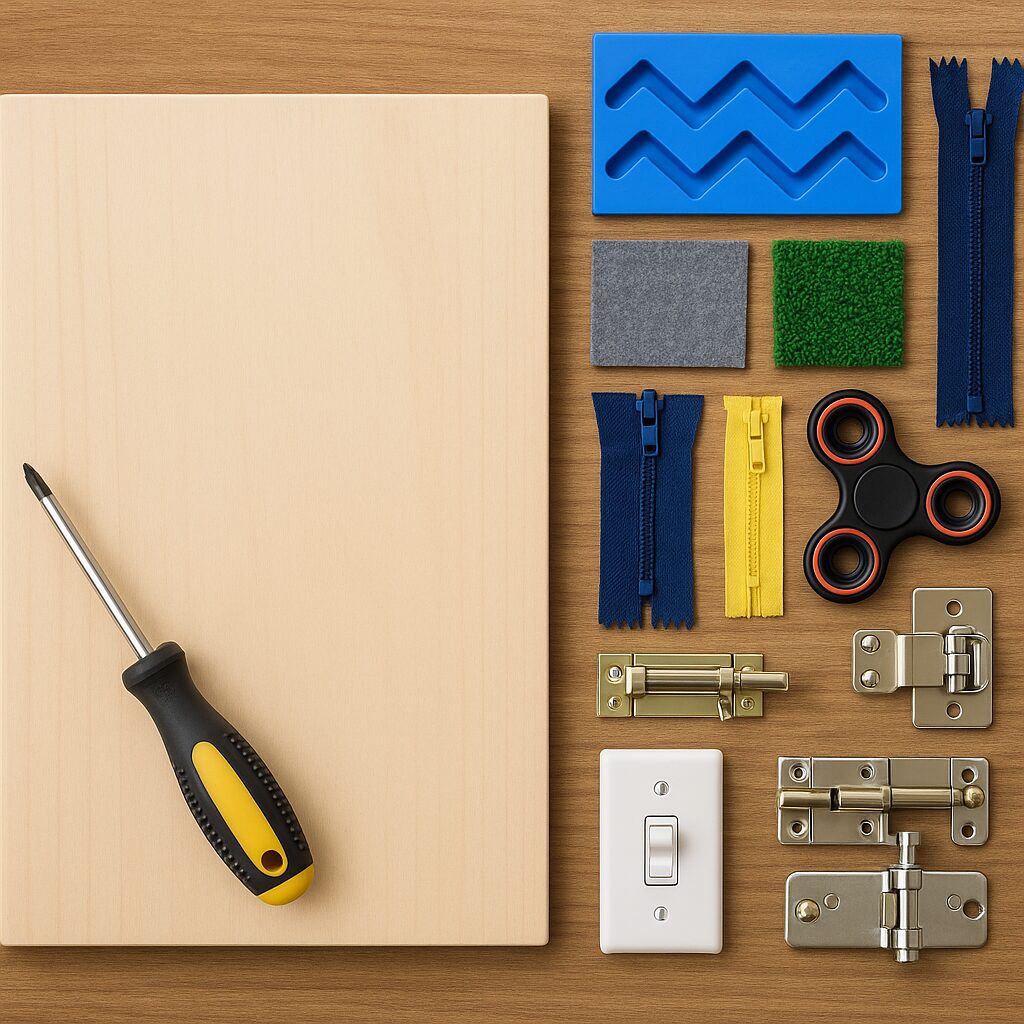
- Gather Tools: You’ll need a screwdriver or drill, non‑toxic glue, hook‑and‑loop fastener (Velcro), and basic measuring tools.
Budget‑Friendly Materials & Ideas
You don’t need expensive kits to make a great sensory wall. Try repurposing or thrifting:
- Recycled objects: Bottle caps, jar lids, old keys, light switches, and door locks.
- Household textures: Fabrics like velvet, burlap, satin, denim, bubble wrap, sandpaper, sponges, and pot scrubbers.
- Upcycled toys: Small spinning tops, fidget spinners, beads, gears from broken gadgets, or unused puzzle pieces.
- Thrift store finds: Mini chalkboards, picture frames, bead mazes, and latches—often for pennies on the dollar.
- Nature elements: Smooth pebbles, pinecones, pieces of corkboard, or shells (well‑secured and sanded smooth).
Step‑by‑Step Instructions
- Select a Base: Use a sturdy wooden board, foam core, or a framed corkboard—whatever fits your space and budget.
- Sketch Your Layout: Outline where each element will go. Group tactile items together and moving parts in another area.
- Attach Hardware First: Secure heavier items—latches, locks, wheels—with screws or strong adhesive so they won’t pull off.
- Create Texture Zones: Cut fabric squares, sandpaper, or sponges and glue or staple them to the board. Use Velcro if you want them to be removable.
- Add Fine‑Motor Activities: Thread ribbon through holes, attach zippers, tie ropes, mount bead mazes or sliding puzzles.
- Add Color & Fun: Paint or decorate the board around the textures. You can also hang battery‑operated LED lights (securely) for visual interest.
- Test & Adjust: Invite your child to explore. Notice what they love and what goes untouched; swap out or add elements accordingly.
- Mount Securely: Use wall anchors or heavy‑duty hooks, making sure the board is flush against the wall. Safety is the top priority.
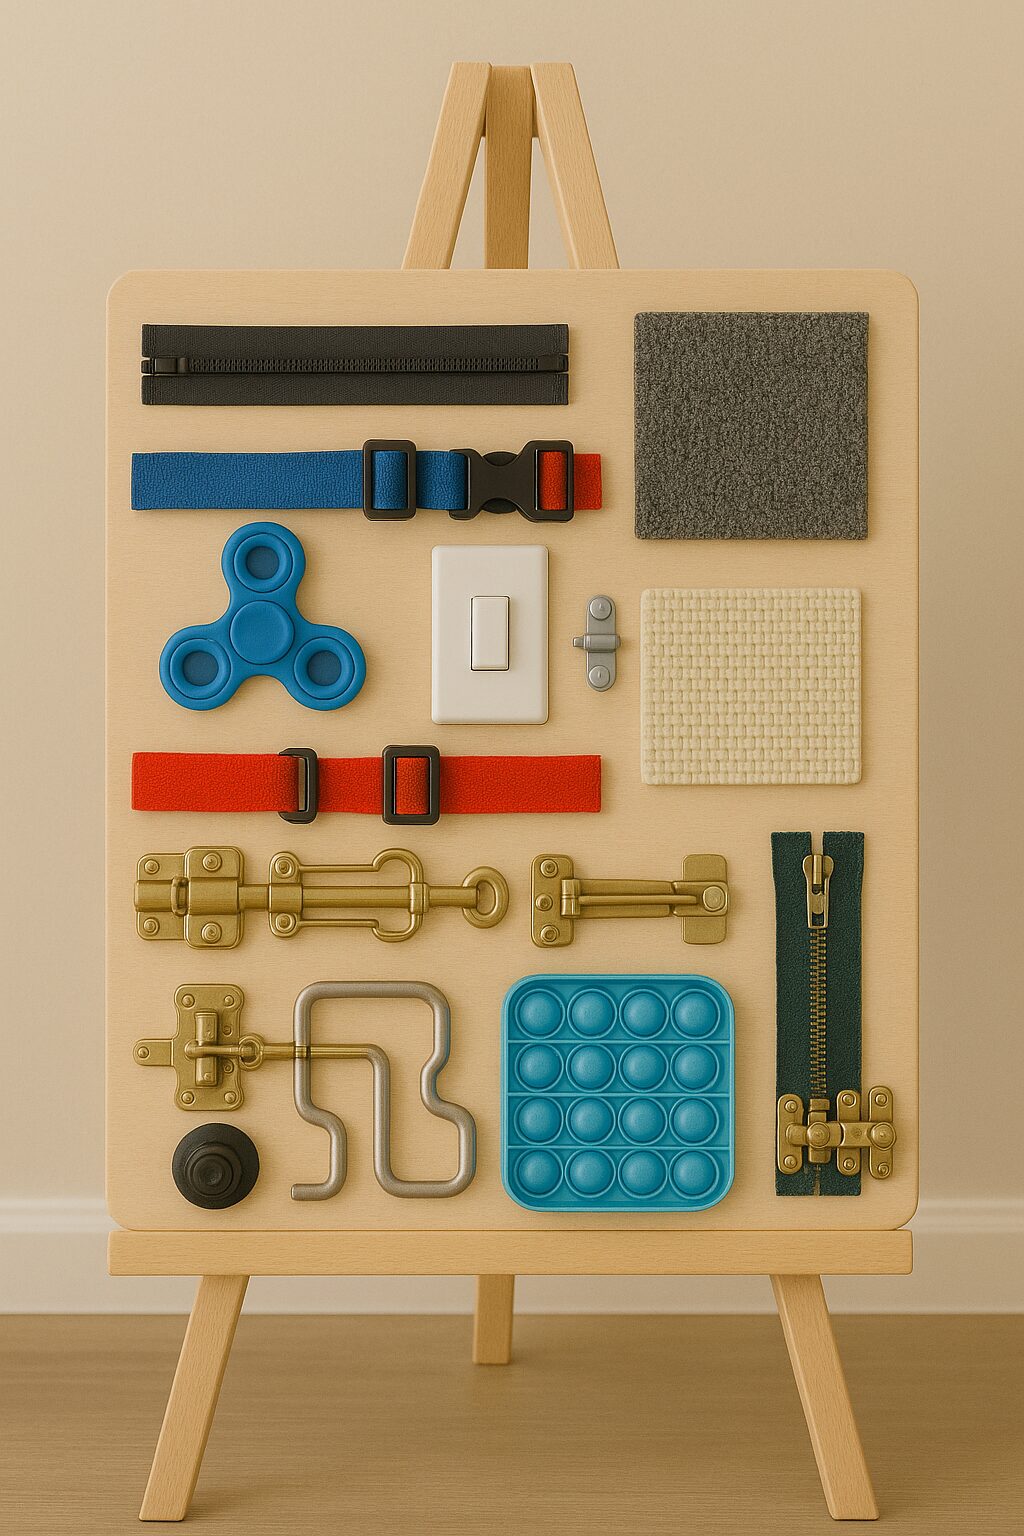
Ideas for Sensory Features
Mix and match from this list to create unique sensory stations:
- Fabric swatches (silky, rough, puffy) for tactile variety
- Light switches and toggle buttons for cause & effect
- Zippers, shoelaces, and buckles to practice dressing skills
- Old door knockers, latches, and knobs for gross‑motor movement
- Bead runs, sliding tracks, or maze puzzles to encourage fine‑motor play
- Mini chalkboard or dry‑erase board for drawing
- Pompoms or felt shapes attached with Velcro for color sorting
- Bubble wrap pockets or soft sponges for squeezing
Adults Can Benefit, Too
Don’t forget the grown-ups! A small sensory board near your desk or kitchen can help relieve stress. Incorporate cork or smooth stones for tactile grounding, or add a calming pinwheel to spin during breaks.
Safety Considerations
- Secure heavy items with screws and test them before kids play.
- Avoid very small pieces that could pose choking hazards.
- Sand any rough edges and check items regularly for wear.
- Supervise play—especially with moving parts like locks and wheels.
Printable DIY Sensory Wall Checklist
We’ve created a printable checklist to keep you organized! It guides you through planning, sourcing materials, and assembling your sensory wall step by step. Click below to download:
Download the DIY Sensory Wall Checklist (PDF)
More Resources
Looking for other sensory tools? Explore our guides on Busy Boards, Balance Boards, Sensory Mats, and Sensory Lamps to create a complete sensory space.
Frequently Asked Questions
What’s the most cost‑effective way to make a sensory wall?
Reuse household items like bottle caps, fabric scraps, or old toys. Thrift stores and dollar stores are excellent sources for boards and small objects.
Do I need carpentry skills?
No! Many sensory wall pieces can be attached with glue or Velcro. A screwdriver may be needed for hardware like locks or knobs.
How do I customize it for different ages?
For toddlers, use larger, simpler textures and locking mechanisms. Older children may enjoy puzzles, math‑counting beads, or more intricate tactile zones.
Can I move the board if I’m renting?
You can use heavy‑duty adhesive strips or mount the board on an easel or stand instead of screwing it into the wall.

