
Daily Visual Schedule (Free Printable with 20 Activity Cards) — for Kids with Autism
Help your child feel confident and secure with a clear, easy‑to‑follow daily routine. This free printable visual schedule is designed for children with autism, ADHD, and sensory processing needs—making transitions smoother and reducing stress for the whole family. Perfect for home, and it pairs with our classroom set.

Ready for more? See the Parent Sensory Toolkit or the Parent + Teacher bundle.
Why visual schedules help (and when to use them)
Research snapshot
Visual supports make expectations concrete, reduce transition anxiety, and boost independence—especially for autistic and sensory‑seeking learners. Results are strongest when schedules are introduced gradually and used consistently.
- Reduces cognitive load by shifting verbal prompts to visuals.
- Improves follow‑through during busy transitions.
- Builds autonomy and self‑monitoring over time.
Great for
- Morning & after‑school routines — set expectations and ease transitions.
- Bedtime wind‑down — show exactly what comes next at night.
- Weekends & holidays — flexible planning when days look different.
- Home–school coordination — snap a photo to share the plan.
- Autism, ADHD, sensory needs — predictable routines reduce meltdowns.
What’s included in the free set

20 core activity cards
- Essential daily tasks (get dressed, breakfast, school, play, chores, reading, bath, bed, etc.)
- Color + black‑and‑white versions
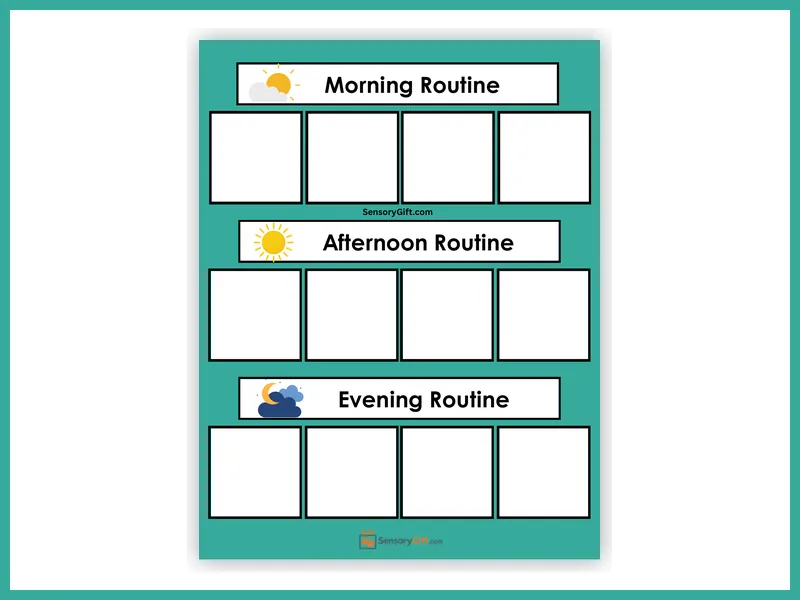
Modular schedule template
- 4 slots per block (morning, afternoon, evening)
Quick‑start guide
- Simple assembly instructions
- Tips for introducing the schedule without overwhelm
Materials
- Printer + cardstock (or regular paper + laminator)
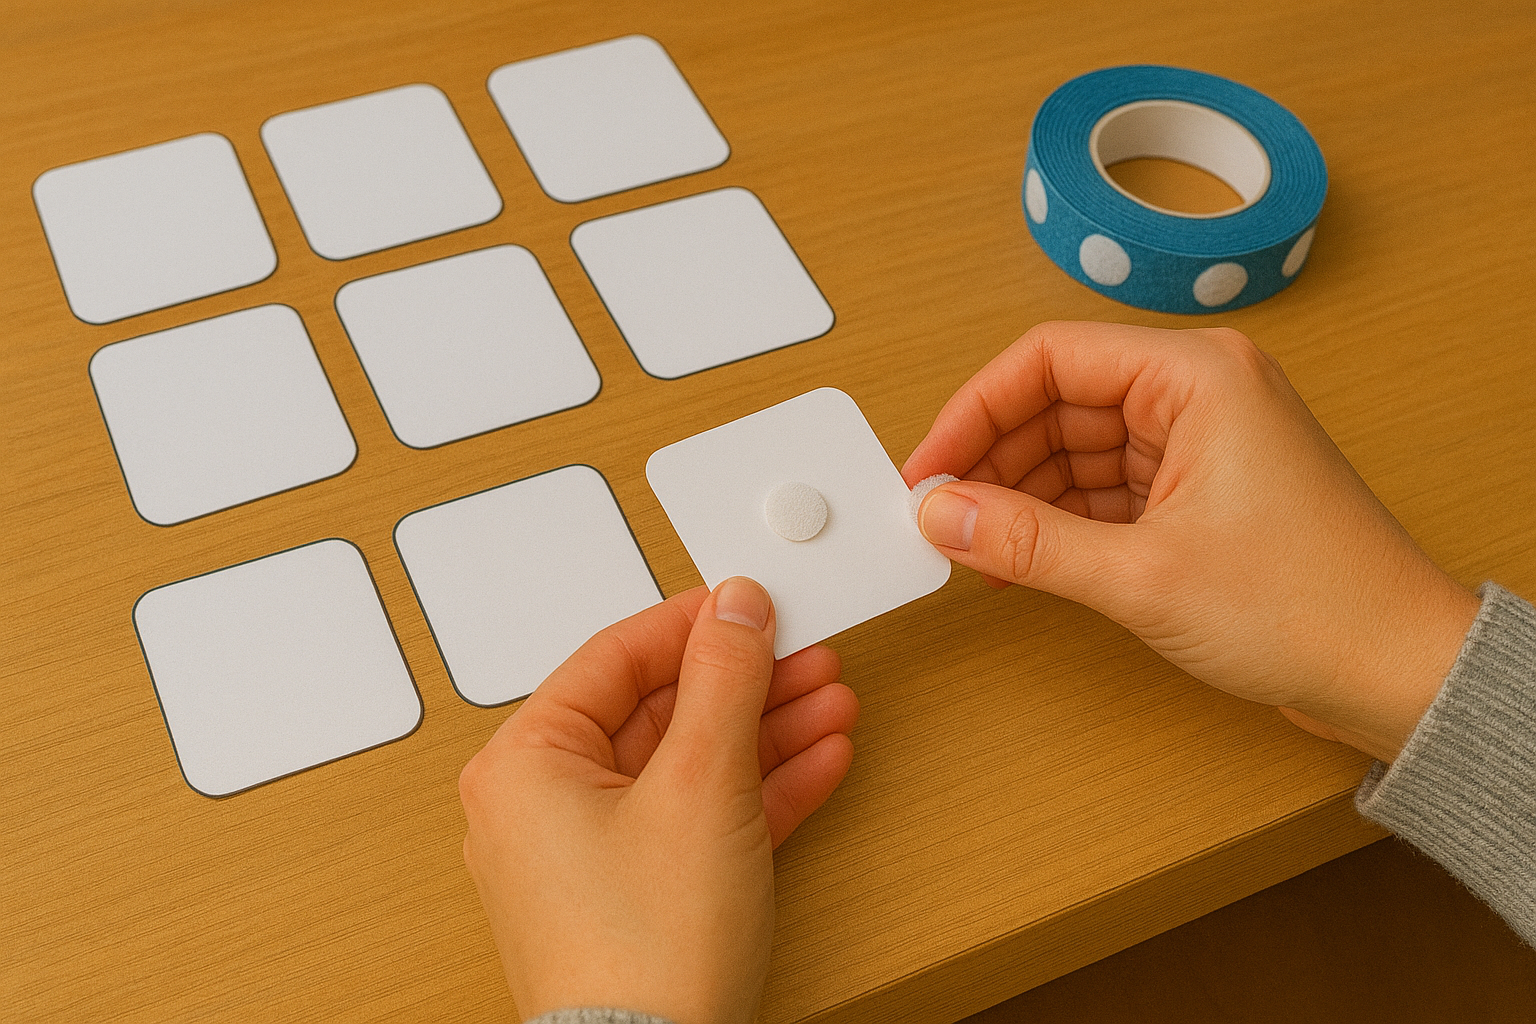
- Velcro dots or magnetic tape
- Scissors/paper trimmer; optional corner rounder
- Optional: dry‑erase marker for daily notes
How to set up and use your visual schedule
Print & prepare
Print cards and the schedule template (Color or B/W). Cut cards; laminate if you want them to last. Add Velcro dots or magnets to the backs.
Choose today’s cards
Pick 2–4 activities for each block (morning/afternoon/evening). Keep it short for beginners—then gradually add more as your child succeeds.
Place where your child will see it
Mount the schedule at your child’s eye level in a central spot (kitchen wall, hallway, calm‑down corner). Consistency > perfection.
Preview together
Before each block, review the sequence. Use the same simple language every day: “First breakfast, then get dressed, then brush teeth.”
Teach flexibility
When plans change, swap a card in front of your child and say, “Plans changed—now it’s library time.” The routine (using the schedule) stays the same.
Fade prompts over time
Point to the next card instead of telling. Encourage your child to move completed cards to a “done” pocket if you use one.
💡 Pro tip: Snap a quick photo of the day’s plan and send to caregivers or teachers so everyone stays consistent.
Customize it to your child
- Visual level: Swap icons for photos of your child doing each step if that’s easier to understand.
- Length: Start with 2–4 items; work up to a full block or day.
- Motivation: If you use rewards, add a tiny “When‑Then” strip: “When we finish 3, then snack.”
- Co‑regulation: Pair with a calm‑down strategy when transitions are hard.
Troubleshooting
- Refusal? Reduce the number of items; alternate “easy” then “tough” tasks.
- Forgets? Keep the schedule visible and point to it (don’t re‑explain verbally).
- Rigid? Keep using the schedule daily, but vary one item sometimes to safely teach flexibility.
Want more cards? Unlock 40 extras
Get the full visual schedule pack with school‑day cards, chore sets, community outings, therapy, shopping, and more.
- Everything in the free set, plus 40 additional cards
- Both Color & black‑and‑white files
What to do if…
…my child pulls all the cards off at once
Start with a shorter schedule (2–3 cards). Offer a “Finished” bin so removing a card feels purposeful. Reinforce: “We did it—next is ___.”
…an unexpected change causes a meltdown
Use a “Change” card. Preview the swap with a timer or countdown: “In 5 minutes, we’ll change to ___.” Follow with a preferred activity.
…my child ignores the schedule
Pair each step with brief, positive attention and a small reward when completed. Keep visuals at eye level and review at the same time daily.
…weekends or holidays look different
Keep morning anchors (wake up, breakfast, brush teeth), then add special cards (park, visit family). Consistent anchors + flexible middles works best.
…reading is hard
Use simple icons/objects. Pair each card with a single keyword you repeat the same way. Over time, your child will learn the association.
FAQ
Should I start with the full‑day schedule?
No—start small (3–4 items) and build toward a fuller block or day as your child succeeds.
What if my child can’t read yet?
Use picture‑only cards or photos of your child doing the activity. Add simple words later.
How do I handle sudden changes?
Swap the card in front of your child and narrate briefly: “Plans changed—now library.” The routine of using the schedule stays the same.
Do I need rewards?
Not necessarily. Some families like a small “When‑Then” strip (When we finish 3, then snack). Fade as independence grows.
How long until we see benefits?
Many families notice smoother transitions within 1–2 weeks of consistent use. Keep language simple and review at the same time daily.
Will this work for nonverbal kids?
Yes—visuals reduce language demands and give a clear sequence of what’s next. Pair each card with a keyword and gesture if helpful.
References & further reading
Visual schedules support receptive language, reduce anxiety by making routines predictable, and increase independence by shifting from verbal to visual prompts. For more research on school‑based use and implementation considerations, see resources on visual schedules in classroom settings and structured teaching approaches.